Tuesday, December 9, 2014

Cinnamon Rolls Recipe for Beginners

 Cinnamon rolls are so delicious you can take them anywhere! Everybody loves it. 


Today I am going to share my easy Cinnamon Roll recipe. I just learned how to make this delicious, beautiful rolls that makes any cold kitchen warm. The ingredients are not hard to find and just very basic you can find it in your kitchen. To make the rolls you will need:

3/4 cup warm fat free milk
2 cups all purpose flour
1 tablespoon honey
1 tablespoon yeast active dry yeast
1/2 teaspoon salt
2 1/2 tablespoon melted butter
1/2 cups brown sugar
1 tablespoon ground cinnamon powder
 1/2 teaspoon baking powder

Step1. Combine milk, honey and yeast and let it sit for 10 minutes
       2. Add butter, salt, baking powder and 1/3 of flour to step 1 and mix
       3. Add another 1/3 of flour and mix again
       4. Add the rest of the flour and mix until all the flour has incorporated with all the ingredients and a dough ball forms
       5. Let the dough rise until double for about 40 minutes to 1 hour.
       6. Rub oil around the dough to prevent sticking. Avoid putting too much oil.
       7. Place the dough on a flat surface and roll it flat into a rectangle shape. 
       8. When the dough is completely flat, rub 1/2 tablespoon melted butter and sprinkle brown sugar and cinnamon powder.
       9. Roll the dough into a cylinder and slice using serrated knife.
      10. Let the rolls rise for 20 minutes. Preheat oven at 350F and bake rolls for 16-20 minutes until golden brown. 


Thursday, November 20, 2014

How To Make A Mesh Christmas Wreath

Mesh Christmas Wreaths are excellent addition to any door or windows


This is my finished Christmas Wreath made of Mesh. This is very easy and inexpensive to make. It does not need to be for christmas, but it any occassion too like spring and fall or even summber.  For the Steps on how to make this, I included a tutorial below


There are many kinds of wreaths for different occassions and times of the year. What I am going to show today is how to make a wreath out of mesh. Wreaths are great way of decorating front doors and windows. Wreaths comes in different shapes and sizes, but the most popular one is the round wreath and can be from small to medium size. Now for the mesh wreath you will need to purchase some supplies which I am showing below:


1 roll of Mesh - 1and 1/2 feet wide and the length depends on how big is your wreath
2 feet wire  or pre-made wreath
ribbons
christmas ornaments or anything you can get from the christmas tree (if you have one) and this is optional


First form your wire into round shape and be careful not to hit your eyes. The safest way is to purchase an undercorated wreath. They are pretty cheap and cost only around $5.00 at Michaels on Black Friday. I got mine 2 years ago and I still have it. The good thing about this wreath is that they can be decorated over and over again. Your neighbor will think you buy new wreath every year. Below is the wreath I got from Michaels for 5 bucks. Not bad! Not not difference when you buy wreaths from a yard sale.


Next is get your roll of Mesh. Gather from one side to the other until your thumb and index finger is holding it together like this:


Hold it firm and attach it to the wreath. Make sure it is tight enough that when you move the wreath the mesh won't fall off. When I attach my mesh, I used the wires that looks like leaves of the Christmas tree. I am not sure what it's called. This step should look like the 2 images below.


And then repeat step number 1 until all the wires of the wreath are covered. When you're done, the wreath should look like the picture below. Isn't it lovely? You might say No, but wait I am not done yet! Go to the next step to make your mesh wreath look lovely and cute. 


Pick your favorite ribbon and other Christmas decorations you already have. Attached it to the wreath the same way you attached the mesh. Let me share to you my favorite ribbon. I like this ribbon because it looks so elegant and it has the word Merry Christmas.By the way I added a ribbon which I did not take picture. It is gold in color and I got it from a recycled gift wrapper.


When all the steps are done, the next step is to take a picture and post if on your facebook page lol. So here is my finished wreath. It looks so pretty on my door especially the contrasting colors against the blue paint. What a lovely day!

Thursday, November 14, 2013

Princess Party for my Princess Bella

My daughter just turned 3. I decorated the house with pink, purple and white. I decided to stick on 3 colors, but then she decided to be  a Cinderella so I have to add pale blue to match. I used tissue papers for the flowers and  banners. I also made birthday wreath out of  scrap booking papers and card stock. It turned out so pretty and my guests said it's perfect.


Wednesday, October 2, 2013

Green tea for anti aging

I found this picture from a magazine that just got in the mail. It is about green tea and its effect on our body especially on our skin. It does not only cleans the system but also helps us stay looking younger. That's what they say. I should try it. Maybe I should. It is almost winter time and cold weather is going to visit us. Nobody is exempted. Let's have green tea and enjoy sipping it while hot and also give our skin something they will thank you later.

Monday, September 30, 2013

Fall wreath


Today is a lucky day since I was able to make a wreath for this fall. I have been too busy with home and work that I don't have time anymore even to eat lol.  Anyway see what I made and tell me what you think. 

Saturday, August 10, 2013

My own review for google Nexus 7 tablet 32 2013 version

Today I got my first Nexus tablet, the Nexus 7. I am so impress how fast it is. The only thing missing is the micro SD slot. But aside from that I have no problem with it. It is very convenient to use and so smooth. In fact I am using it to type this post with  2 hands like a big cellphone.I can type on fast with it not like my other tablet. I am glad I purchase this tablet. The camera is sharp enough compared to other 5 megapixels camera. The front facing camera is only 2 mp. I haven't used it yet. I love the spell corrector.  It is so accurate that I don't care if I messed  my spelling. The apps are so amazing they worked with no single problem. Here is the first picture I took -unedited, under moderate light.
 

Thursday, April 18, 2013

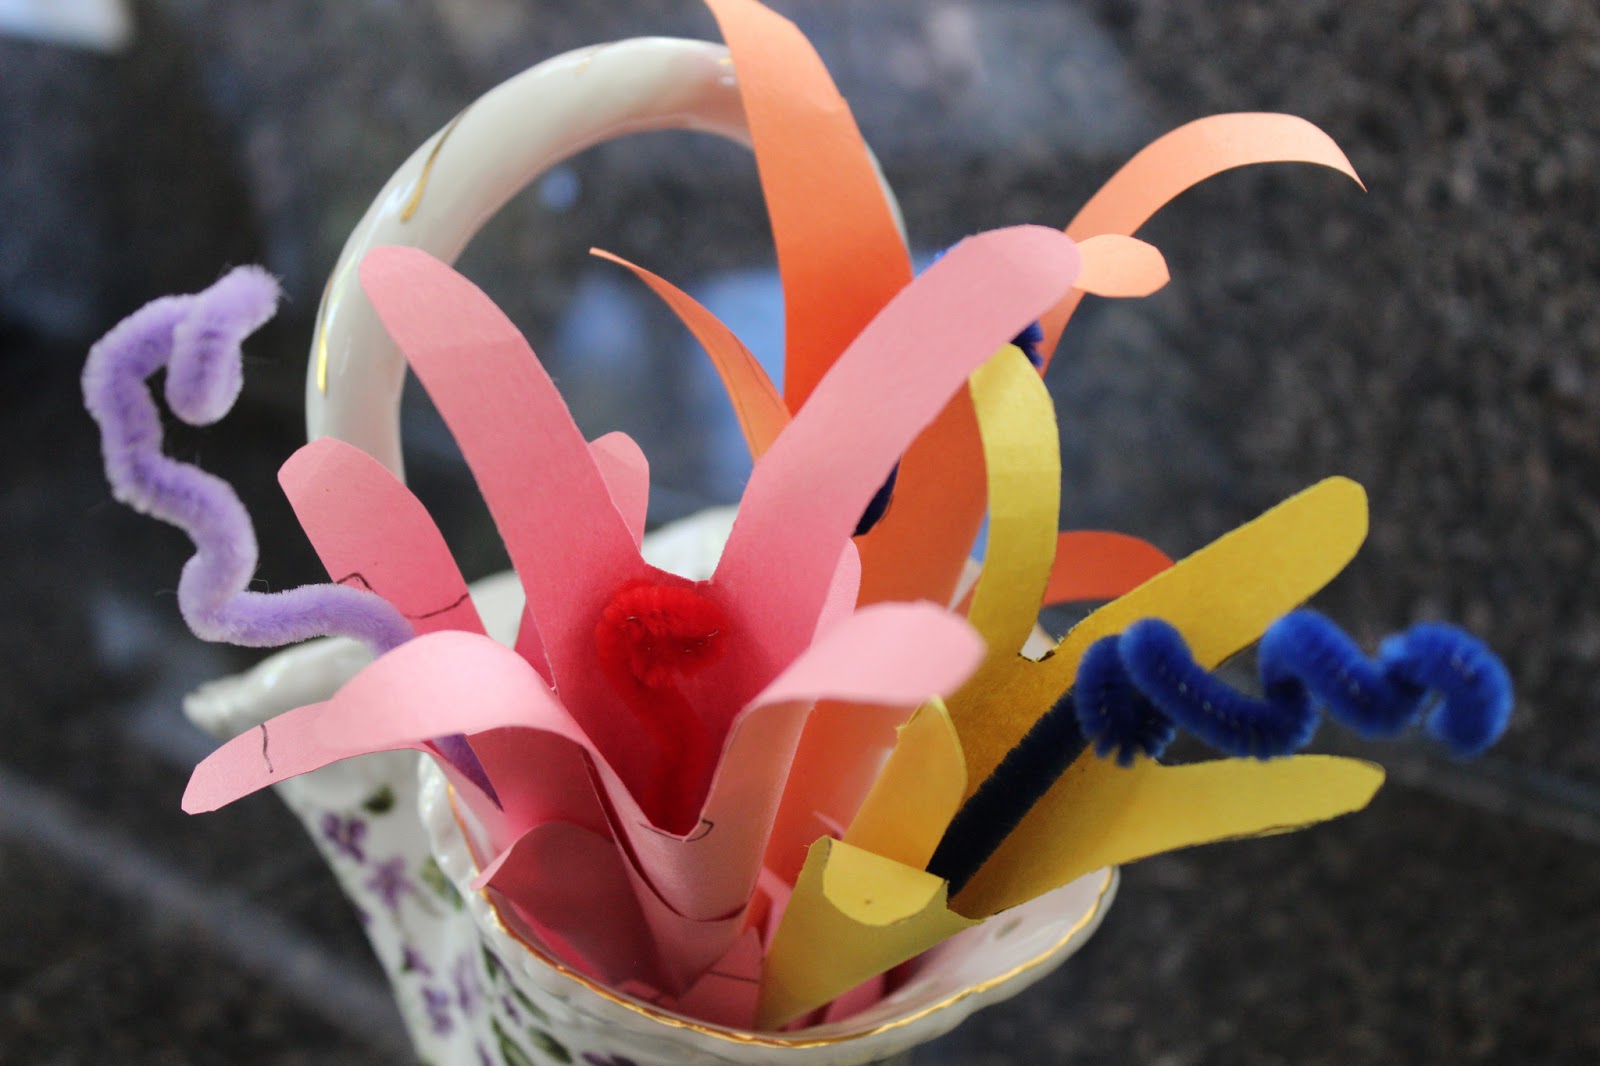
How to Make flowers from Construction Paper?

Construction paper? Yes construction. Sounds too heavy right? In reality this paper is not as heavy as wood and steel that construction workers use. It's light and it will surely light up your world.

After a year of not posting due to busy-ness, I decided to come back. Yes. It is the return of the come back LOL. I have a very nice project to share. It is a flower made of construction paper.


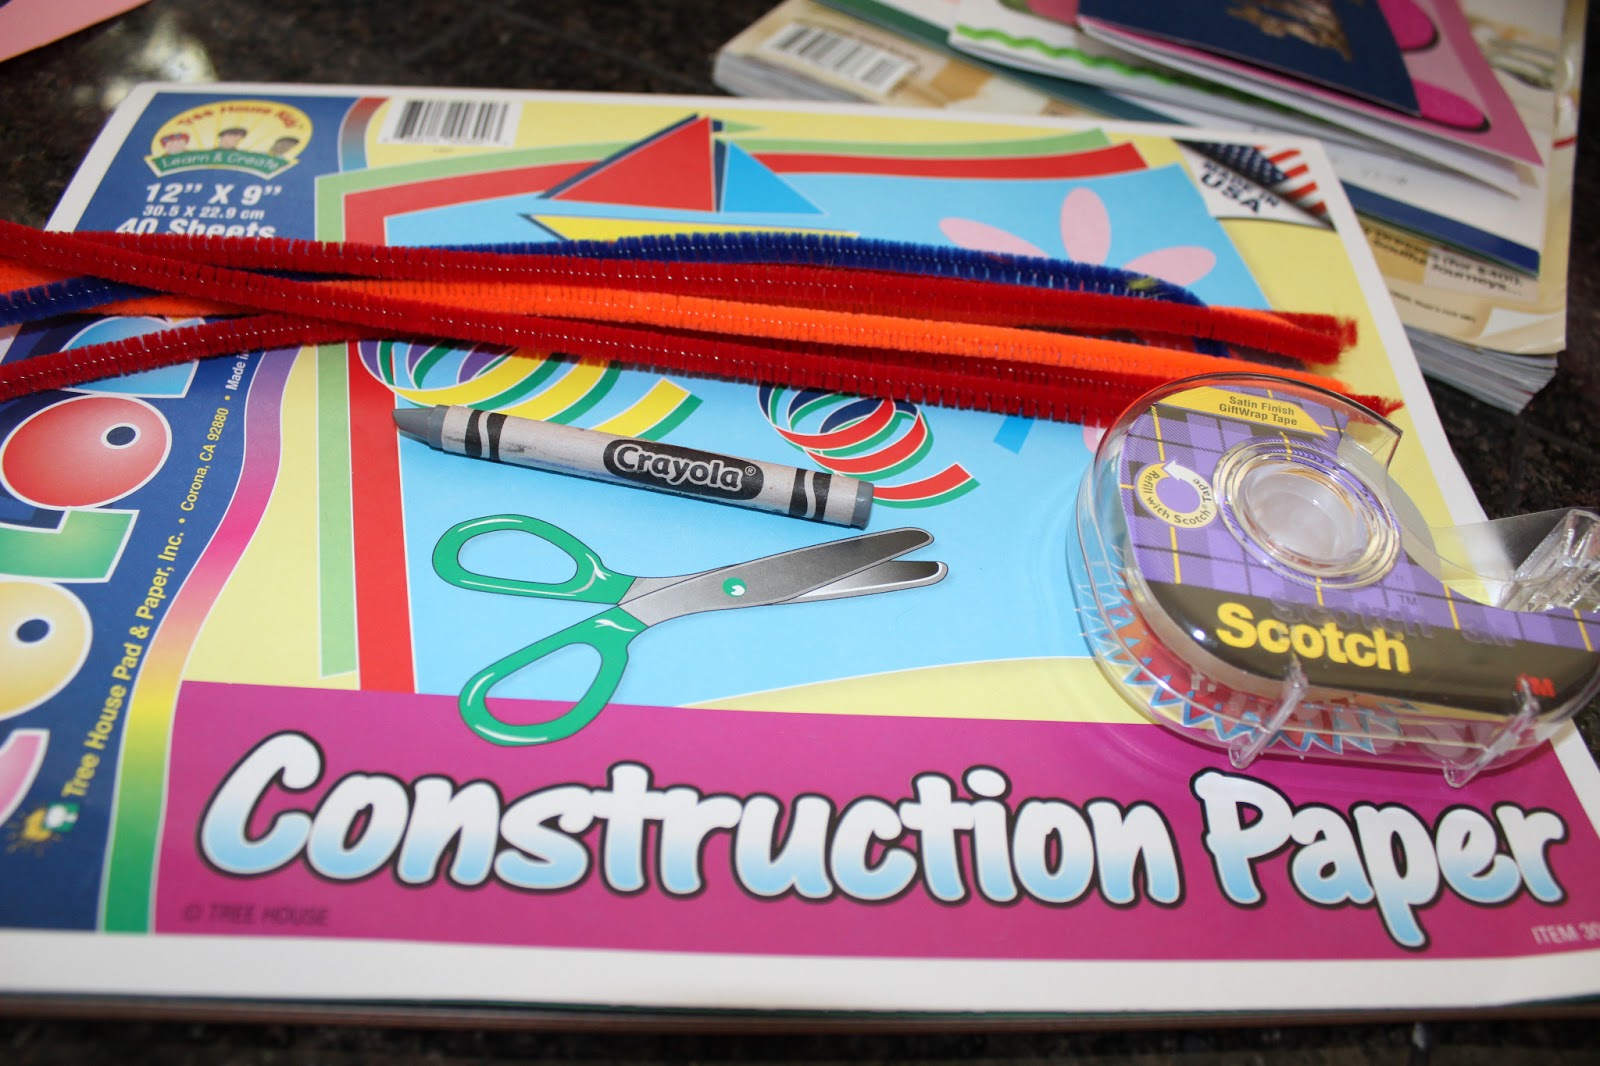
 Below are the materials I used to make them:


  1. Construction paper
  2. Scissors
  3. Adhesive tape
  4. Pipe cleaners
  5. Crayons
  6. Hands


Step 1: Trace your hand on the paper using a pen or crayon.


Step 2: Using scissors, cut the traced hand. Be careful and have an adult supervision when doing this. That is if you're not yet an adult.


Step 3: This is how it looks like after the cutting. See it looks like a hand.


Step 4: Using crayon roll each finger of the paper hand.


Step 5: Join both ends of the hand  and put a tape to secure.


Step 6: Get a pipe cleaner and make a shape on one end. You can do any shape you want.


Step 7: Insert the other end of the pipe clear to the center of the flower like this I'm pointing.


Step 8: Make another flower and have a bouquet. Tarahh!!


See if you do not like coloring pages now you learn something else to use your crayons and you can tell your friends that you have tried working using construction materials.


Saturday, April 7, 2012

Been so busy...

Since I started working, I don't have much time blogging and making any tutorials and stuff. Working at night and watching my daughter at day is exhausting, but I still prefer working at night so I have all my day to do whatever I want. And yes I own all my day hours but too tired to do something. I actually do alot of things:  making tutus and hairbows and photography are my main hobbies lately which I enjoyed very much. My husband got me an EOS T3i which I am  liking and using alot. A sample picture below is one of  the very first pictures that I've taken. Nice huh? 


Thursday, September 15, 2011

It might look vintage

Im excited! I can't wait. I'm already imagining lots of food and beautiful places. It would be my daughter's first trip outside the country too. I'm excited for her. She likes going to different places already at a very young age. I made her something to wear on her hair. It's something that looks vintage (to me), but I'm not sure if it really does.


I made one for me too haha.  I will make tutorials for this soon. Now I am just too sleepy to make one.  


Saturday, September 3, 2011

Weekend Ruffled Skirt

I found this style on Sprouts  channel, the one with a talking chicken named Chicka. Chicka, Chicka chickadora! Anyway I got an old dress from swapmeet for 50 cents and I thought it's perfect for a ruffled skirt. It's hard to sleep Friday night and I ended up making this cute little skirt for my baby girl.


It is so easy to make. I measure it the same way I measured my previews post whisech is the tiered skirt but just a little more complicated.


Step1: Cut lining which is 5 inches bigger than the elastic divided by 2. The elastic should be measured exactly as the waist.


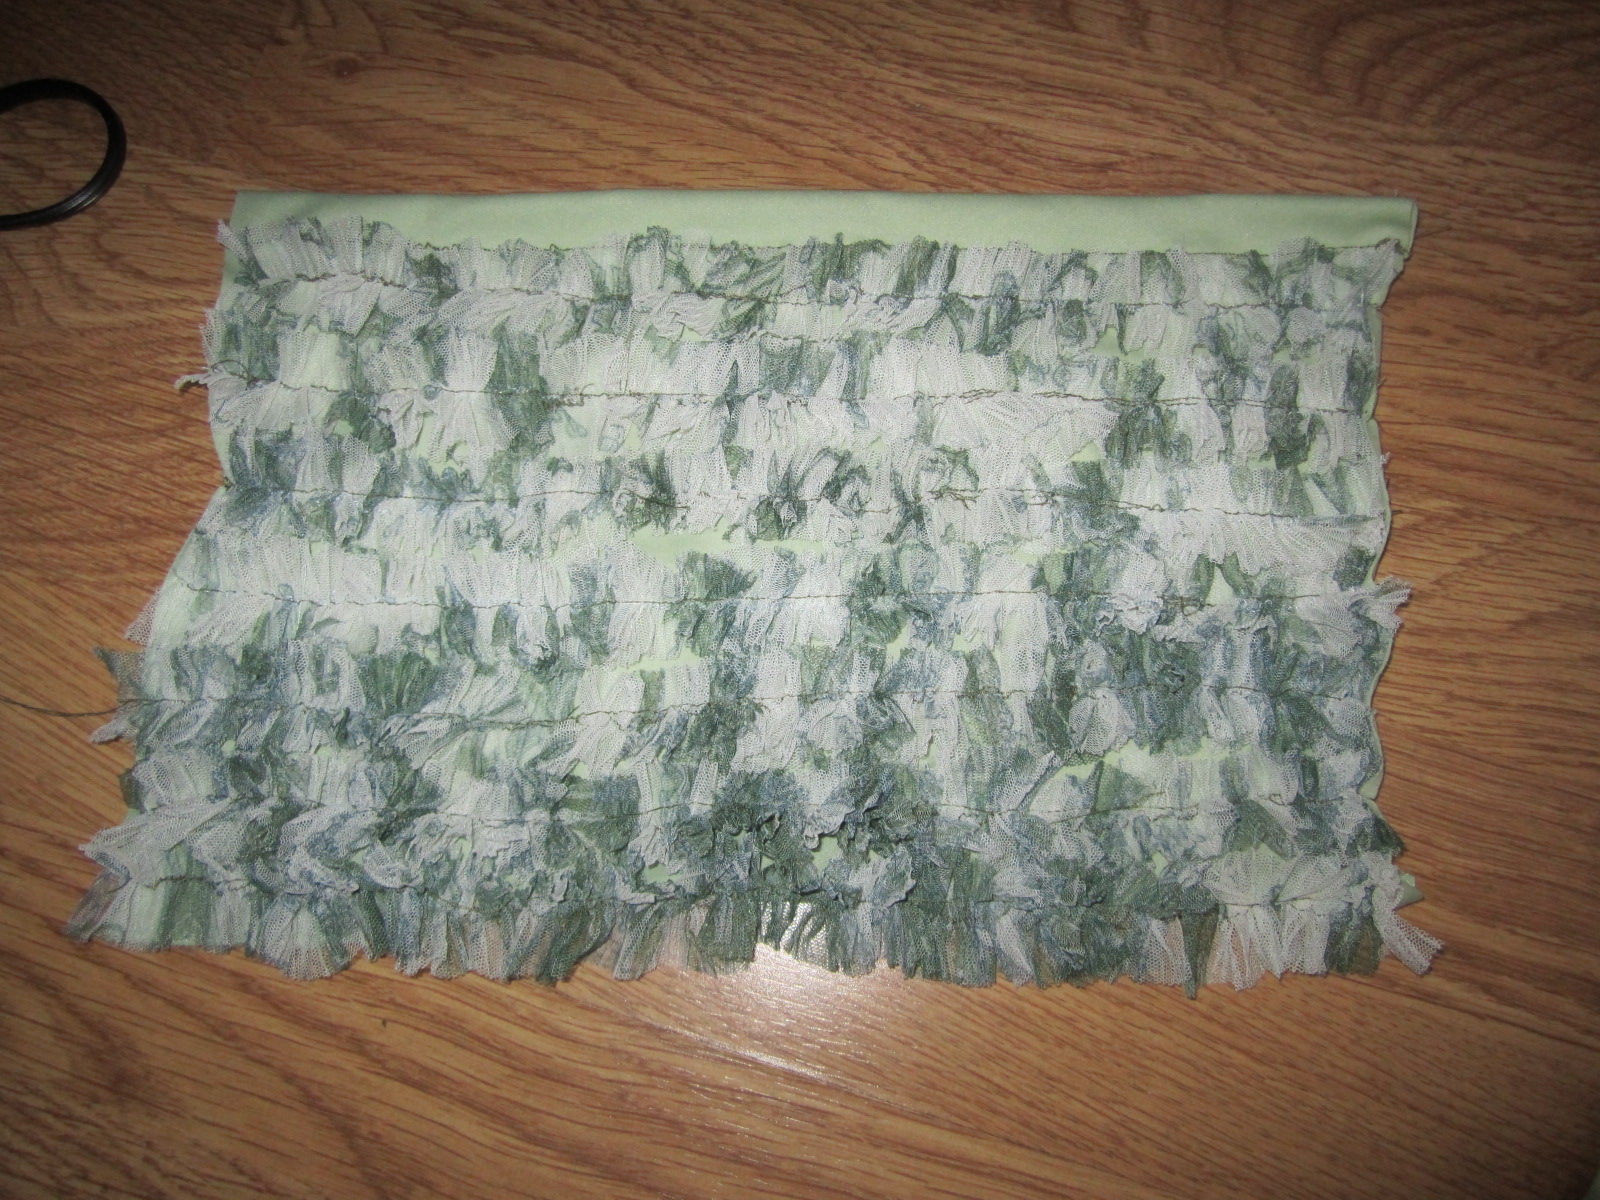
this image shows the lining with the strips already sewn on it. this is the inside part of the skirt.


Step2:  Cut strips of fabric approx. 1" wide and do running stitch along the middle and gather. Make enough to cover your lining front and back.


Step3: Sew the strips of fabric that you gathered horizontally on the lining and continue until all space is covered.


Step4: Join the 2 pieces of material together by sewing along the sides with right sides facing each other.


Step5: Insert the elastic along the casing on the waist and sew the ends to secure.

And you're done with your ruffled skirt! I can't wait to make more.


Thursday, September 1, 2011

Make a tiered baby skirt


I love looking at baby skirts especially those with ruffles and tiers. I decided to make one for my daughter which turned out "not bad" for first timer. Here it is!


It is so easy to make as long as you know what size of fabric you need to cut.
You need to cut 3 different sizes of rectangle fabric - lining, top and bottom tiers.
Here is the formula:  Lining = waist + 5 inches
                               Top tier = waist x 2
                               Bottom tier =  lining x 2

My skirt is for baby with a size 20 waist.

Step1: Measure the waist. Cut an elastic of the same size as the waist. Cut lining.  My waist is 20. So my lining is 25.


Step2: Cut tiers top and bottom.  My top and bottom tier is 40 and 50 respectively.

top and bottom tiers


Step 3: Sew the edge of the tiers and gather until it is the same length as the lining. Then sew the tiers to the lining. To create more ruffles cut a strip of fabric about 1 inch wide and gather. Sew the strips along the edges of each tiers.


And you're done! :D


FEEDJIT Live Traffic Feed